If you are someone who will be signing documents regularly, you may wish to consider creating a profile. This will make your name (or profile ID) appear automatically in the Signature Information window, and allow you to have more details stored in the signature object; for example, organisation and department, email address. To create a profile, follow these instructions.
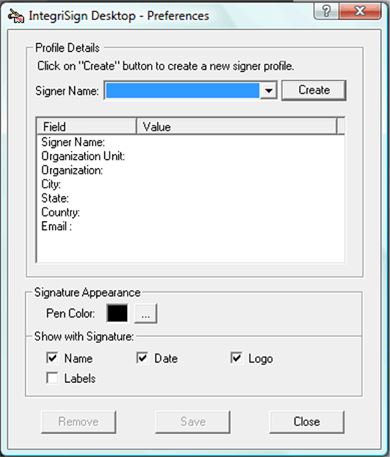
Go to Start > All Programs > IntegriSign Desktop > Desktop > Preferences Manager. The following window appears.
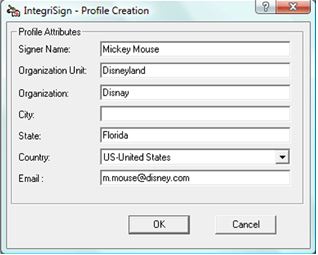
Click ‘Create’ and fill in the required details. Click ‘OK’.
Once your profile is created, you can select what colour your signature appears in when you sign a document, and what additional information is shown as a label on the signature object (ie. Date/Time/Signer Name). When you have finished in the Preferences Manager, click ‘Save’ to finalise your profile.
Now, when you go to sign a document or spreadsheet, this is what the Signature Information window will look like this.

The name in the box can easily be overwritten without deleting the existing profile, if someone other than the named person wishes to use the same PC to sign a document.
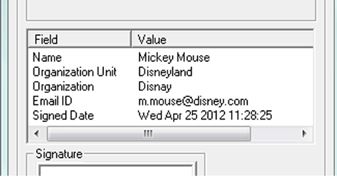
If you sign a document with a completed profile, then verify the signature, you will be able to see additional details for the signer in the verification window.